Need Help?
Looking for fun art projects that actually work? These three activities are parent tested and kid approved!
Each project comes with clear steps, uses items you already have at home, and keeps kids happily busy for 15 to 30 minutes.
Best of all? These create beautiful results that kids are proud to show off!
Perfect for: Ages 5 to 10
Time needed: 20 minutes
Mess level: Low (washable markers only)
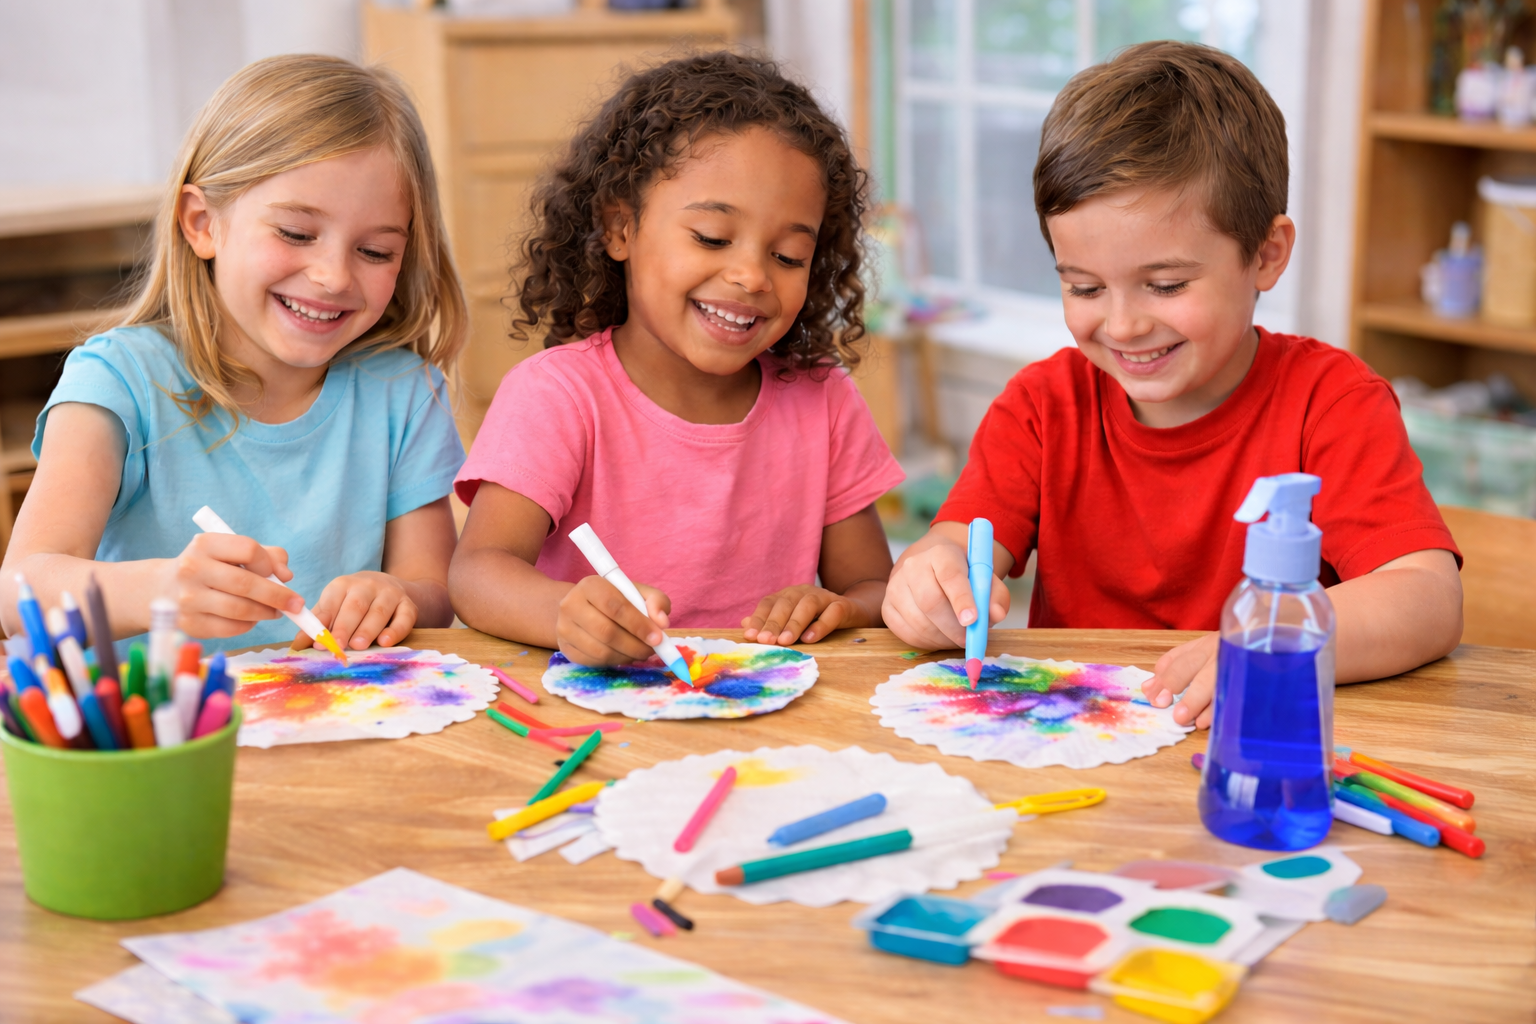
Kids absolutely love watching the colors blend magically on coffee filters! This project teaches color mixing while creating gorgeous butterflies they can hang in their room.
What You Need:
• Coffee filters (white, basket style works best)
• Washable markers (bright colors)
• Small spray bottle filled with water
• Pipe cleaners (any color)
• Paper towels
• Newspaper or plastic to protect your table
Step by Step Instructions:
Step 1: Cover your table with newspaper or a plastic tablecloth. This keeps cleanup easy!
Step 2: Flatten one coffee filter on the table. Let your child color all over it with washable markers. Encourage them to use lots of different colors and fill the whole filter.
Step 3: Here comes the magic! Lightly spray the colored filter with water. Not too much, just a few sprays. Watch as the colors start to blend and spread together.
Step 4: Place the wet filter on a paper towel to dry. This takes about 10 to 15 minutes. While waiting, kids can make more butterflies!
Step 5: Once dry, pinch the filter in the middle to create wing shapes. It should look like a bow tie.
Step 6: Wrap a pipe cleaner tightly around the pinched middle. Twist to secure it. The ends become antennae, so curl them into fun shapes!
Step 7: Gently fluff out the wings. Hang your beautiful butterfly on the wall or from the ceiling with string!
Pro Tips:
• Use darker markers for more vibrant colors
• Less water is better! Too much makes the colors too light
• Make a whole butterfly family in different sizes
• Add googly eyes with glue for extra cuteness

Perfect for: Ages 6 to 12
Time needed: 30 minutes plus drying time
Mess level: Medium (salt can spill)
This is the most magical art project ever! Kids watch in amazement as watercolor travels through the salt, creating stunning textured paintings. The results look professional and frame worthy.
What You Need:
• White school glue in a bottle with a tip
• Table salt (regular cheap salt works great)
• Thick cardboard or cardstock paper
• Liquid watercolors or food coloring mixed with water
• Small cups or containers for colors
• Paintbrush or dropper
• Large tray or baking sheet (to catch extra salt)
Step by Step Instructions:
Step 1: Place your cardboard inside a large tray or baking sheet. This catches the extra salt so you can reuse it.
Step 2: Using the glue bottle, draw a simple design on the cardboard. Hearts, stars, flowers, or abstract swirls work great. Keep lines thick, not thin and wispy.
Step 3: While the glue is still wet, pour salt generously all over the glue lines. Cover every bit of glue with salt.
Step 4: Gently lift the cardboard and shake off the extra salt into the tray. Your glue design should be completely covered in salt. Let this dry for 5 minutes.
Step 5: Mix your colors! Put liquid watercolors or food coloring in small cups. Add a little water if they are too thick.
Step 6: Now for the magic! Dip your paintbrush in color and gently touch it to the salt. Do not brush or scrub, just touch! Watch the color travel through the salt like magic.
Step 7: Add different colors along the salt lines. Where colors meet, they blend beautifully. Keep going until your whole design is colorful.
Step 8: Let it dry completely (this takes a few hours). Once dry, the salt hardens and creates a beautiful textured painting!
Pro Tips:
• Use thick glue lines. Thin lines disappear under the salt
• Do not use too much water in your colors or they will make the salt soggy
• Start with one color and add more slowly. You can always add more color
• Try making rainbow designs, ocean scenes, or fireworks!

Perfect for: Ages 7 to 12
Time needed: 30 to 45 minutes
Mess level: Low to Medium
This is the ultimate recycling craft! Kids turn boring boxes into awesome robots with personality. This project builds problem solving skills, spatial awareness, and creativity. Plus, it uses stuff you would throw away anyway!
What You Need:
• Empty cardboard boxes (various sizes for body, head, arms, legs)
• Toilet paper or paper towel rolls
• Aluminum foil
• Bottle caps, buttons, or other small items for details
• Glue or tape (duct tape works great)
• Markers, paint, or stickers for decorating
• Scissors
• Optional: googly eyes, pipe cleaners, colorful tape
Step by Step Instructions:
Step 1:Gather your boxes! Look for a medium box for the body, a smaller box for the head, and toilet paper rolls or small boxes for arms and legs. Let your child choose which boxes become which parts.
Step 2: Start with the body. This is your base. You can leave it as is or cover it with aluminum foil for a shiny robot look.
Step 3: Attach the head box on top of the body using glue or tape. Make sure it is secure! Help younger kids with this step if the boxes are heavy.
Step 4:Time for arms! Tape toilet paper rolls or long skinny boxes to each side of the body. You can bend them at the elbows using extra tape as joints.
Step 5: Add legs the same way. Attach them to the bottom of the body box. Make sure your robot can stand up! If not, make the legs wider or add a cardboard base.
Step 6: Now the fun part, decorating! Create a robot face using bottle caps for eyes, buttons for a nose, or draw features with markers. Get creative!
Step 7: Add details like control panels on the chest (drawn or made from bottle caps), antennae (pipe cleaners), and buttons everywhere. Robots need lots of buttons!
Step 8:Give your robot a name! Write it on the robot or create a name tag. Does your robot have special powers? A backstory?
Pro Tips:
• Use colorful duct tape for easy decoration and strong attachment
• Save boxes for a few weeks before doing this project so you have good variety
• Let kids plan their robot on paper first, then build it
• Make a whole robot family! Big robots, tiny robots, silly robots
• Create a robot city using more cardboard boxes as buildings

You now have three amazing projects ready to try. Pick the one that sounds most fun to your child and get started!
Remember, the goal is not perfection. It is creativity, learning, and fun together.
Save this guide and return to it whenever you need a creative activity. These projects never get old!
If your child loves these projects and wants to explore more,
Try the first art class for FREE at TalentGum.
Expert teachers will nurture their creativity and help them discover new techniques!
Explore TalentGum’s live online classes and find a course that matches your child’s interests.
We will send you a confirmation code
 + 91
+ 91
We will send you a confirmation code

Have trouble signing in? Use Email Address instead.
Don't have an account? Click here to sign up.
Please enter the OTP sent to
<%cust_input_country_code%><%cust_input_value%> 
Almost there: enter your details and select your preferred time